Showing posts with label distress inks. Show all posts

January 8, 2018

Distress Inks and Derwent Intense Pencils Tutorial and Winner Announcement

Hey peeps.  Happy Monday.  I'm back with another tutorial and we are getting colorful today.  I'm working with distress inks and Derwent Inktense pencils on my card today.  I love using old supplies in my stamp room and I'm making that happen today.  So come along this colorful journey with me today as we play with color. But before we get started.  The winner from the Seasons Giving Blog Hop is.....

KATHERINE COSIMANO
PLEASE EMAIL GOTJOYCREATIONS@GMAIL TO CLAIM YOUR PRIZE

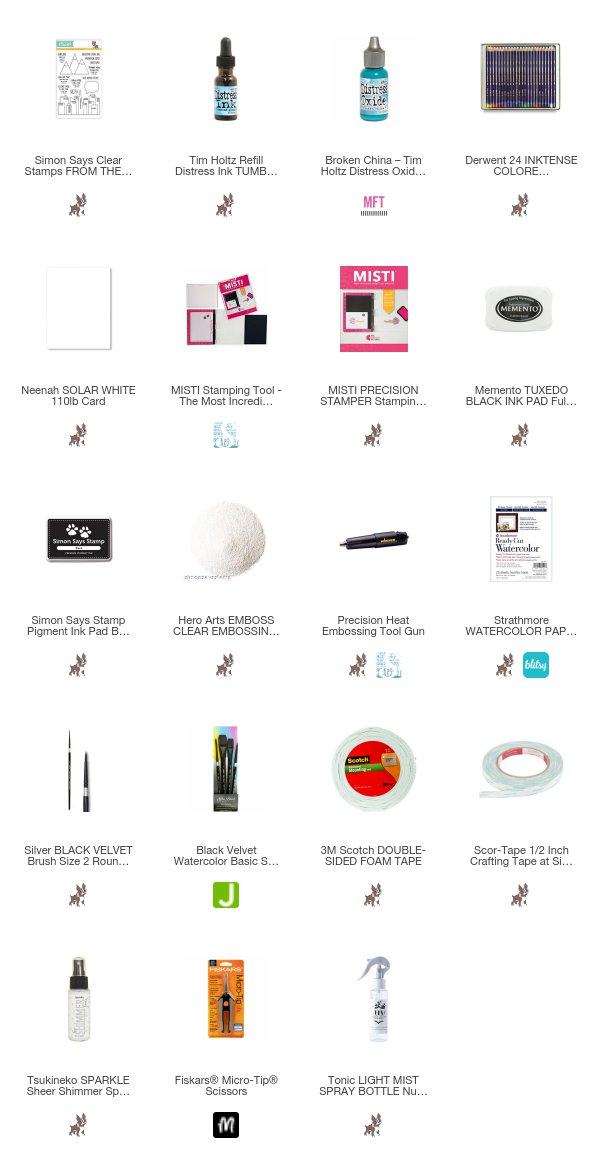
For my card I made a cool background using some distress inks and alcohol for this card.  I have to say that I really love working with these two products in my room.  It's been awhile since I just played and had fun with some of my older items in my craft room.  I also pulled out my lovely Derwent Inktense pencils and went to my happy place on these adorable building from the new Simon Says Stamp From The Rooftops stamp set.  Aren't these little building adorable?


Here's a quick tutorial.  You can watch it here or over at my Youtube channel mzdanajoy.  I've used affiliate links for your convenience at no cost to you.


Have a great day everyone.  See you back here soon!!


 photo sig_zpse3eae6d2.png

Follow on Bloglovin

November 17, 2017

2017 Holiday Card Series - Day 3 Snowflakes Worth Shaking

Hey everyone.  It's day 3 of the 2017 Holiday Card Series.  I hope you have been enjoying the cards so far.  To start at day you click here.  I thought it was time to shake things up a bit with some pretty snowflakes, sequins and tulle. 

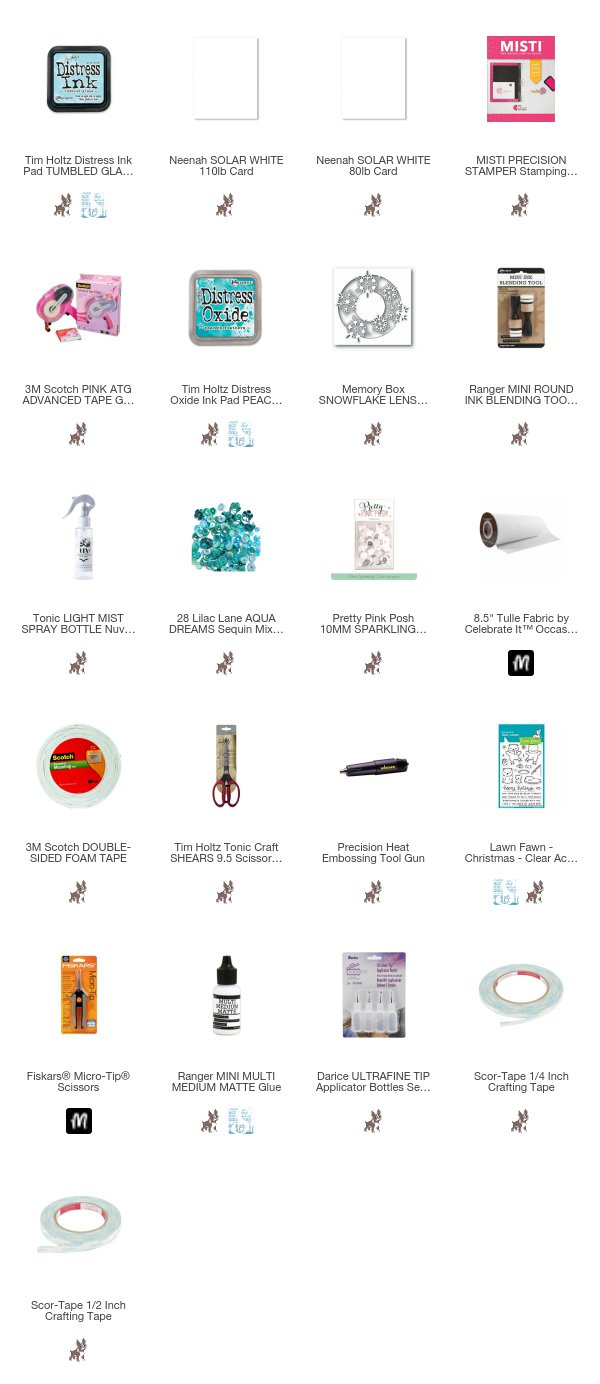
For the card today I used a very soft color palette for my snowflake shaker card. This shaker card was made using a beautiful die from Memory Box called Snowflake Lens.  I'm a sucker for a great snowflake die of any kind.  This one is even better when I can turn it into a shaker card.
 

Using tulle instead of acetate really made my shaker card feel soft and light.  I've really love using the tulle now on my shaker.  Here's another video where I used it to make another shaker card.


You can watch the tutorial here on my blog or over on my Youtube channel mzdanajoy.  I've listed all the products below for your shopping convenience.  I used affiliate links however there is no cost to you.


Okay everyone.  That's a wrap for today.  Make sure to stop by here tomorrow as I have a special post with a giveaway.  See ya soon!

 photo sig_zpse3eae6d2.png

Follow on Bloglovin

April 1, 2017

Large Background Stamps Distress Oxide Inks - Tutorial

Hey peeps.  It's the weekend.  I'm here to share a closeup of the card I shared on Youtube earlier in the week.  It's a very simple and fun technique that really packs a punch.  Using a large background stamps and a sentiment die cut you can achieve a very striking card.  I decided to take a photo with this card on black cardstock so you can really see the details.  Pull out those large background stamps and have fun with them.


Using a sentiment die to cut out just a simple sentiment into the panel is all you need with this technique.  Popping it up with fun foam just adds another layer of WOW.


You can achieve this look with any large background stamp and sentiment die combination. If you don't have a background stamp, I have another technique you can try as well.  I shared a post using Colorburst and a sentiment die which also had an amazing result. I've linked to the Colorburst tutorial so you can see that card too.


Have a great rest of your weekend and I'll see you back here soon.


 photo sig_zpse3eae6d2.png

Follow on Bloglovin

November 9, 2016

Out Of This World - Tutorial

Hey peeps.  Happy hump day.  I'm back with an awesome card I shared on Periscope.  I have fallen in love making unique backgrounds for my cards.  If you have been watching any of my Periscope broadcast this has been something I have been doing for a while now.  Yesterday's scope I made this card panel using the new ColorIt markers and some distress inks.  We worked as a team to make this panel come together.  This is why I love doing Periscope because I get to fully interact with each of you and we can work on project together.


If you want to see how this came together make sure to follow me on Periscope at mzdanajoy. Here is the link to the scope for this project.  I will have this available for you to review for the next 48 HOURS only and then it will be deleted.  I added the sentiment and the splatters, sequins and white dashes after I finished the broadcast so you will not see that during the scope.

Have a great day everyone and I'll see you guys back here soon,


 photo sig_zpse3eae6d2.png

Follow on Bloglovin


May 17, 2016

Rainbow Fun - TUTORIAL

Hey hey peeps.  As promised I'm back with a video using the Joyful Sentiments stamp set just released from Brutus Monroe.  I shared a card last week on release day but I promised to share a video on how the card came together.  So here is the card I made using the Folk Weave stencil along with some distress inks.  I love making rainbow colored cards.  I used my favorite sentiment from the Joyful Sentiments set.  I love the font we used on this stamp set.


Here is another card I made using the same stencil but with a different sentiment.  This sentiment is from the Spring Garden stamp set that was also released over at Brutus Monroe.


So are you ready to see the video?  Sit back and relax while your eyes get ready for a gorgeous rainbow background.  I'm sure you're going to love this video (if I say so myself).  ;-) If you are looking to purchase the distress inks they are available over at Blitsy. Feel free to use my link on the side of my blog.  The stamps, stencil and embossing ink is available at Brutus Monroe.


Have a fabulous day everyone.  I'll see you back here soon.

Go forth and be crafty~


 photo sig_zpse3eae6d2.png

Follow on Bloglovin
Related Posts Plugin for WordPress, Blogger...