Hey peeps. We are getting to the end of the holiday card series. Just a few more days to go. I'm so glad that you have taken this holiday journey with me and I love seeing your comments on each video. Now make sure to leave comments on the videos so you can have a chance to win my giveaway which I will announce on Day 12.
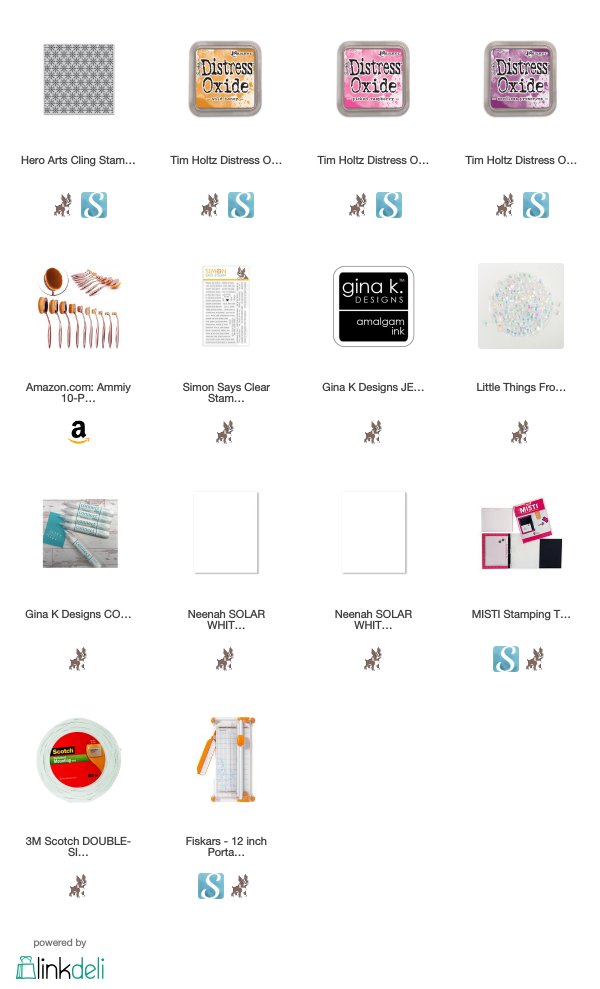
For any card today I'm using a gorgeous background stamp from Hero Arts and beautiful distress oxide inks. These are easy cards to make and they look so gorgeous when they are done.
Here's a quick tutorial. You can watch it here or over at my Youtube channel mzdanajoy. I've used affiliate links for your convenience at no cost to you.
Thanks for stopping by today. Have a great weekend.
Hey everyone. We are on the downward slope of my holiday card series. Just a few more tutorials to go. Hope you have been enjoying the series. I have had such a fun time making the videos and reading your comments. If you have any questions please feel free to leave a comment below.
Here's a quick tutorial. You can watch it here or over at my Youtube channel mzdanajoy. I've used affiliate links for your convenience at no cost to you.
Thanks for stopping by today. See you back here for Day 8 soon.
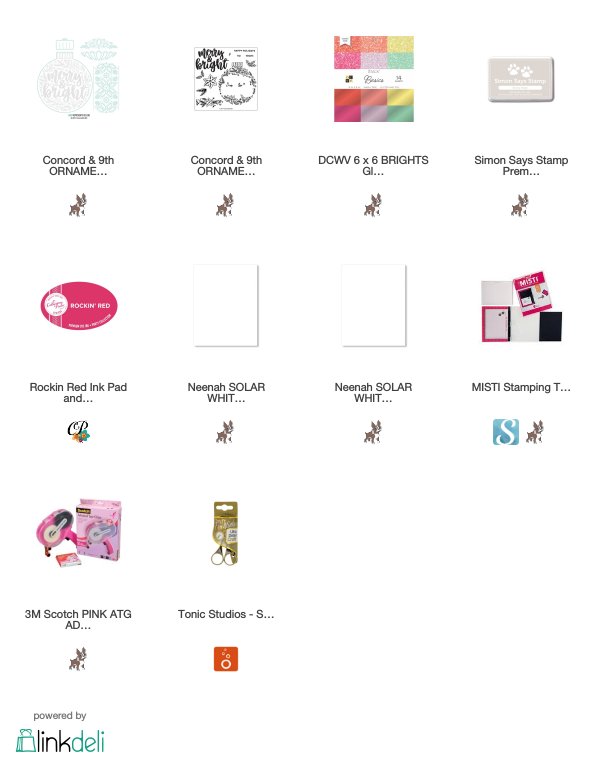
Hey peeps. We are on Day 6 of the Holiday Card Series. My card today will be featuring Concord & 9th again as I'm so in love with their Christmas and Winter themed products. I'm using the Ornamental stamp and die bundle and some sparkly paper.
This die will fit the front of a card panel with little room to spare and that's what's so great about it. It can be the key element to you card with little work. Add a simple sentiment and you are done.
Here's a quick tutorial. You can watch it here or over at my Youtube channel mzdanajoy. I've used affiliate links for your convenience at no cost to you.
Thanks for stopping by today. See you back here soon for day 7.
Hey everyone. I'm in my craft room loving making some simple cards for my friends. Nothing is prettier to me than a classic white and gold Christmas card. The simplicity of the two colors really makes the design you use stand out. I love adding just a touch of red and/or green to a classic Christmas card. Just don't overdo it. Keep the majority of the card with a lot of white space and the let gold color be the next big punch of color.
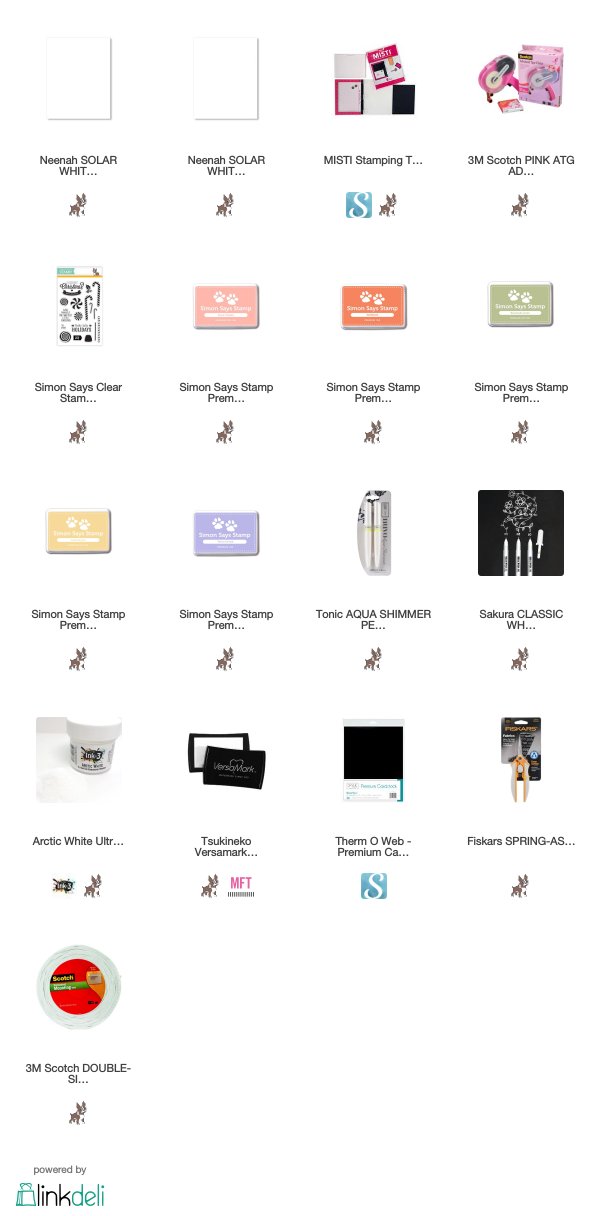
For my card today I used the Fairy Christmas stamp set from Ink On 3 and the Kaleidoscope background stamp from Simon Says Stamp along with some princess gold embossing powder. Since the bells and holly on this image are small I only have to use a small amount of color using my zig clean color real brush markers. To add some detail to the card I used stitched dies to add faux stitching to the circle and the layering panel on my card. I popped up my sentiment with a circle of fun foam just to add some dimension to my card. Now of course I wanted to add just a few sequins to these cards. I just had too. LOL
Look how pretty that sentiment is. I love the little jingle bells on each of the letters. Stamping the background on half of the background allows the sentiment to standout and now be overwhelmed by the background design.
Have a blessed Sunday everyone. I'll see you back here tomorrow with another card.
Hey everyone. Happy Friday. I'm getting close to making the last of my tutorials for 2017. I still can't believe we are almost to the end of the year. The holidays are here and I'm ready to spend some relaxing time with family and friends.
I'm participating in the Winter Coffee Lover's Blog Hop as well as sharing a quick and simple Christmas card. I have just a few cards left to give out to neighbors and friends. For my card for the blog hop, I kept it clean and simple and added just a cute coffee cup to my card.
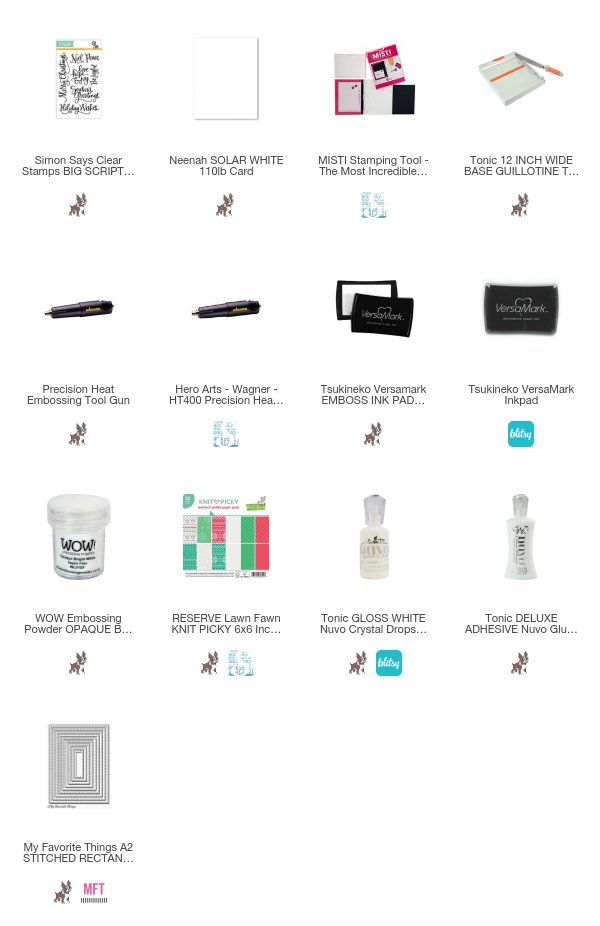
Now you can make a very similar card minus the coffee mug and have ten cards done in a flash. One the card below there is only one large sentiment on this card and some nuvo drops. Can you believe I don't even have a sequin on this one? I used the gorgeous Lawn Fawn Knit Picky 6x6 paper pad for my card base and the stitched retangle stax die-namics for the light stitching on my card.
Since this card was so easy to create, I decided to make some in green as well. Mast production in the house with these!!
You can watch the tutorial here or on my Youtube channel mzdanajoy. I've used affiliate link for your shopping convenience at no cost to you.
Thanks for hanging out with me. See ya back here next week. Have a fabulous weekend!!!
Hey peeps. I'm back with a quick tutorial to share that you can pull off those last minute cards in record time. Pull out those 6x6 paper pads, set aside a little time to color while your watching those holiday movies and you'll have a set of cards done in less than five minutes
This card uses just two paper pads, one image and one die. You can use just one paper pad and mix the paper within that pad or just run color cardstock through an embossing folder if you like. I used some older paper pads for my cards but I will link to two that would definitely work.
Let me show you how easy this card was made. You can watch the video here or over on my Youtube channel mzdanajoy. I've used affiliate links below for your convenience at no cost to you.
Have a great day everyone. See you back here on Friday with another tutorial.
Hey peeps. Hope you're having a great day. I'm back sharing with you a quick tutorial on making your own background paper. If you ever run into the issue of not having the right paper, make your own. It's really easy to do and it's totally your own style.
So here is a card I made using the Altenew Halftone Circles stamp set. I've kept the colors toned down with shades of gray yet I gave it a punch with a pop of red. This is by far one of my favorite color combos.
As you can see the card is still very clean and simple, I've let the stamp set do the work for me. The design is graphic yet very open and airy.
Now onto the tutorial. Grab your favorite beverage and relax. You can watch the tutorial here on my blog or over on my Youtube channel mzdanajoy. Enjoy!
Have a great day everyone. I'll see you back here soon!