Showing posts with label spellbinders. Show all posts

December 15, 2018

Spellbinders Love & Flowers Die Cut

Hey peeps.  Happy Saturday.  I'm back to share a card using the beautiful Spellbinders Love and Flowers die cut.  This is such a sweet die cut for any of your occasional cards.  It's a striking die that is so easy to use.


I die cut this piece several times in black and dark pink cardstock and stacked them on top of each other to create a custom embellishment.  I also cut out the heart in gold glitter paper to add it to the center of the flower. I stenciled a brick background with embossing paste and color burst.  I love this bright pink and how it pairs with the black silhouette image of this sweet girl and boy.  


For my sentiment I used one of the dies from my monthly large die cuts subscription from Spellbinders.  I again cut out several pieces and finished it off with glitter gold on the top. Keeping this clean and simple with no additional embellishments.


For more inspiration check out Spellbinders Instagram and blog.  Thanks for stopping by today.  See you back here soon!

 photo sig_zpse3eae6d2.png

Follow on Bloglovin

November 5, 2018

Holiday Card Series 2018 - Day 1

Hey peeps.  I'm so excited to share Holiday Card Series 2018 Day 1 with all of you.  I've been doing these holiday card series for few years and I enjoy them more and more each time I do them.  I hope you will find some inspiration as you watch this series.  You can also watch my Holiday Card Series 2016 and my Holiday Card Series 2017 by click on the links.

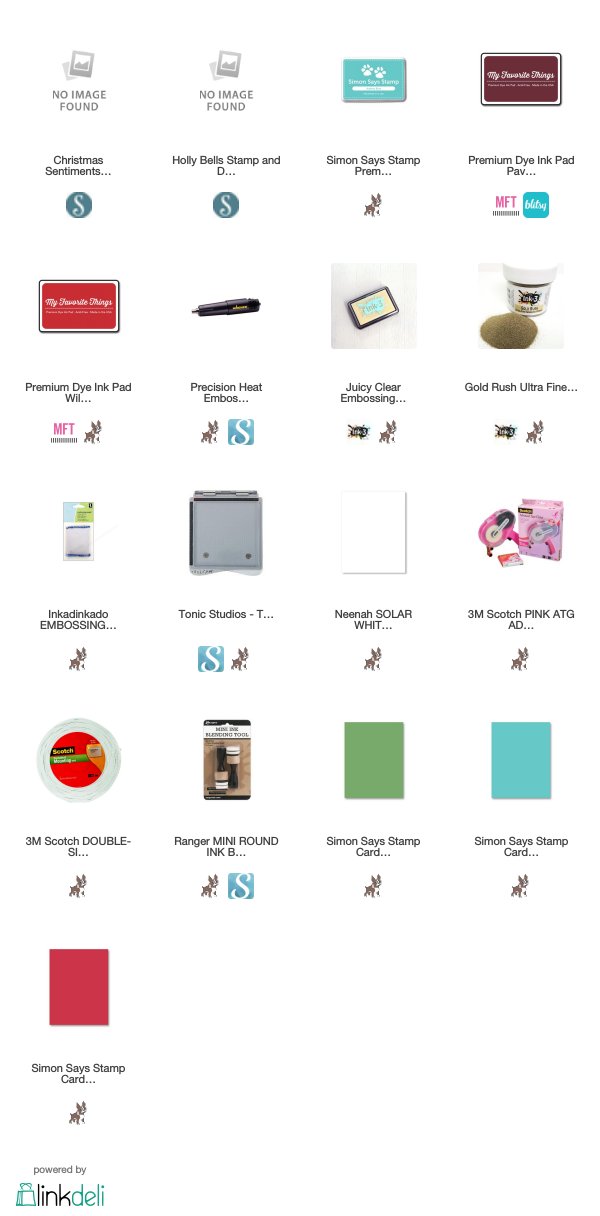
For my cards today I used some fabulous Christmas Sentiments and Holly Bells from Spellbinders for my first day.  I hope you enjoy what I have put together for you.  I'm starting out with some clean and simple cards for you that can easily be mass produced.


Here's a quick tutorial.  You can watch it here or over at my Youtube channel mzdanajoy.  I've used affiliate links for your convenience at no cost to you.


Thanks so much for swinging by today.  If you have any questions regarding this video or the products I used, feel free to leave me a comment below.  I'll see you back here soon for day 2.


 photo sig_zpse3eae6d2.png

Follow on Bloglovin

October 3, 2018

Hey Suga!!

Hey suga!!  LOL I just had to say it instead of peeps today.  I'm working with this adorable stamp set from Spellbinders called Shake It Up and it has these adorable sugar cubes (or tiny ice cubes if you prefer) it the set.  These little sugar cubes reminded me of my Daddy who used to give my daughter sugar cubes as a child just to keep her entertained.  However the joke was on him because he always did it when she was staying the night.  Hello sugar rush!


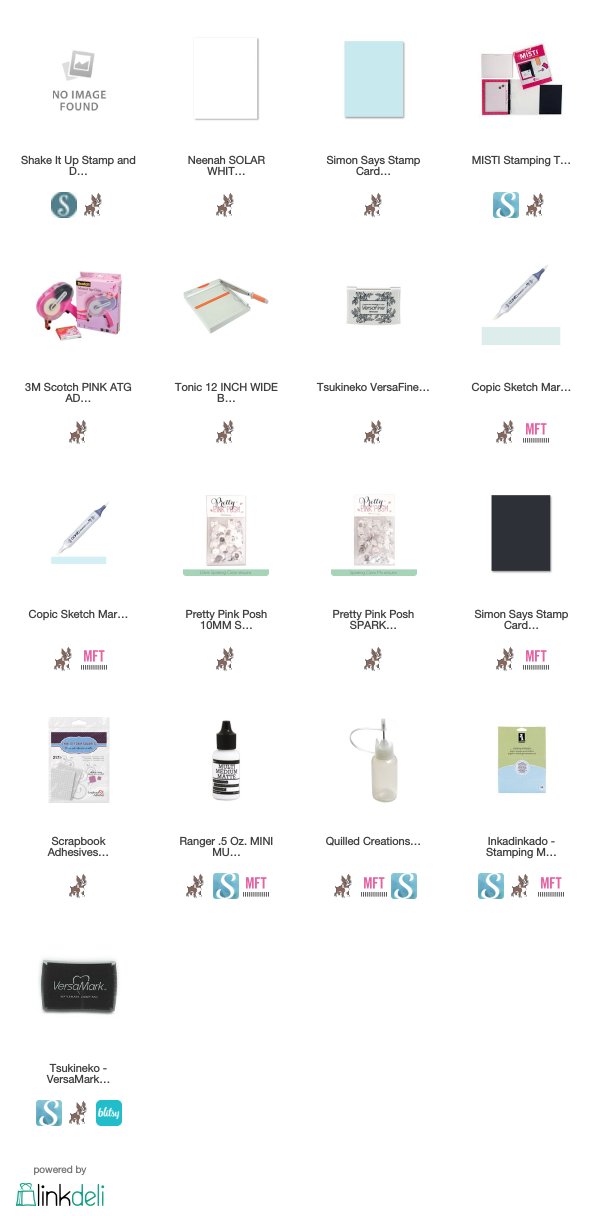
For my card I first stamped out some of the sugar cubes with versamark ink on some pretty sea glass card stock from Simon Says Stamp.  Next I stamped them in a stack making sure to use masking paper to keep the lines from overlapping on some of the cubes.  I lightly colored these with my Copic markers and added the adorable sentiment around the stack of sugar.


I matted this panel with back cardstock and popped it up on the light blue piece.  I layered everything on a white card base and for the final touches I added some sparkle sequins.


I mean really...who cute are these little cubes.  Makes me want to pinch one.  LOL


Thanks for swinging by today.  I've linked the products I used below for your shopping convenience . I'll see you back here soon.

 photo sig_zpse3eae6d2.png

Follow on Bloglovin

September 5, 2018

Spellbinders Grateful Stamp Set and Dies

Hey peeps.  Happy hump day.  I'm back sharing a few cards from the Spellbinders Grateful stamp set and dies.  I think this stamp set is too precious for words.  I'm obsessed with Debi's designs for Spellbinders.  I love the simplicity of them but also the whimsical touches as well.  I mean how doesn't want a cheese grater with a smile on it. 😊

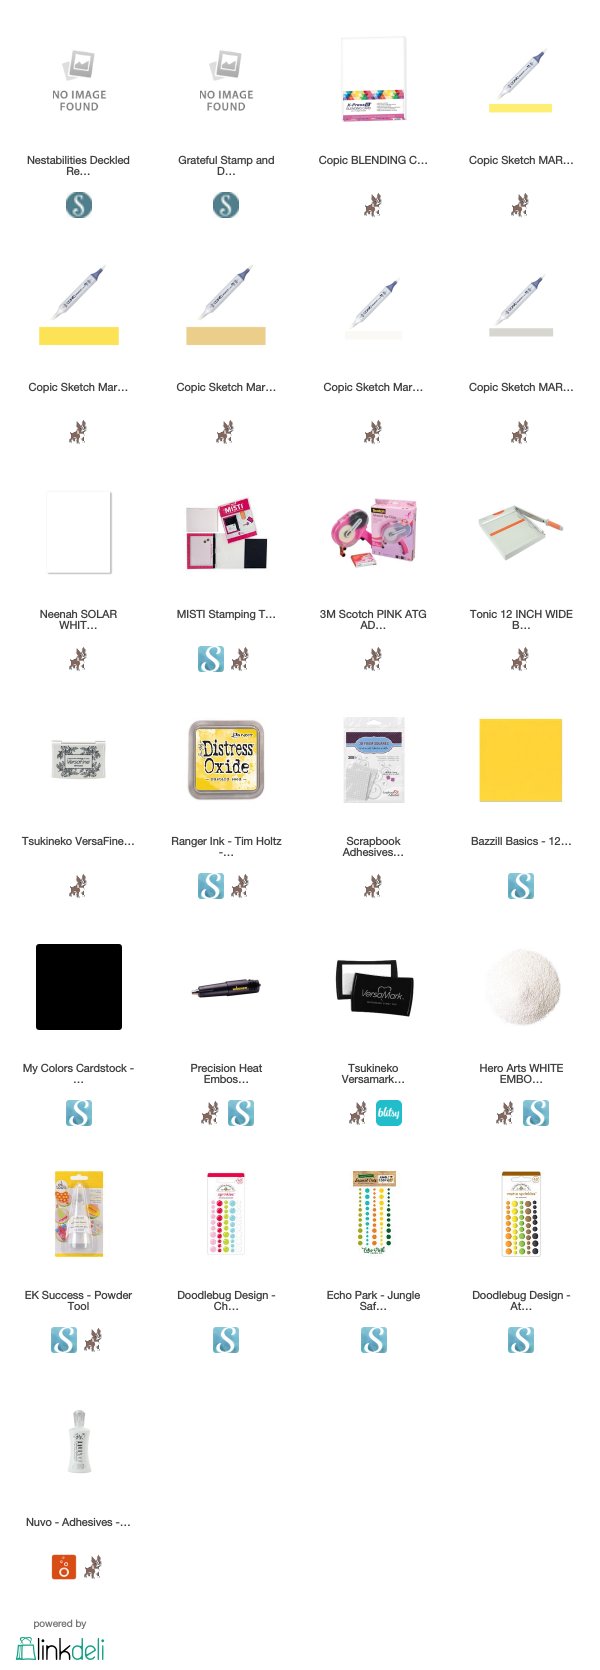
For my cards today I kept the same color combination just switched it up a bit.  My first card I left a lot of white space so my cheese and grater would really pop.  I sponged on some distress ink to ground my images.  Images were colored with my Copic markers and die cut out with the coordinating dies.  I used foam squares to pop them up and stamped out a sentiment from the set.  I added a few enamel dots to keep the color moving.  I also distressed a few pieces of thinly cut black card stock to add a little border on three sides of the card.


For my second card cut down a bright yellow piece of card stock and placed it on the side of a card base.  Next I die cut out a Nestabilties Deckled Rectangled Etched dies and stamped on a sentiment.  I LOVE puniness of this sentiment.  Next I colored up a few more images with my Copic markers and die cut the out.  I popped them up with foam squares and added them to the black piece.  I adhered that piece onto my card base and finished the card off with a few white enamel dots.


That's my cards for today.  So tell me what's your favorite Spellbinders stamp set.  I would love to here what you like.  I may even make a card with your favorite set. 😉 Have a great day everyone and I'll see you back here soon.


 photo sig_zpse3eae6d2.png

Follow on Bloglovin

August 29, 2018

Easy Birthday Card Using Spellbinder Dies

Hey peeps.  I'm sharing a fun and easy birthday card using Spellbinders die cuts.  I LOVE using dies that help me create quick and easy birthday cards.  The Shapeabilities Happy Birthday w/ Numbers Etched Dies.  You can make shaker cards with this die as well.  Soo awesome.


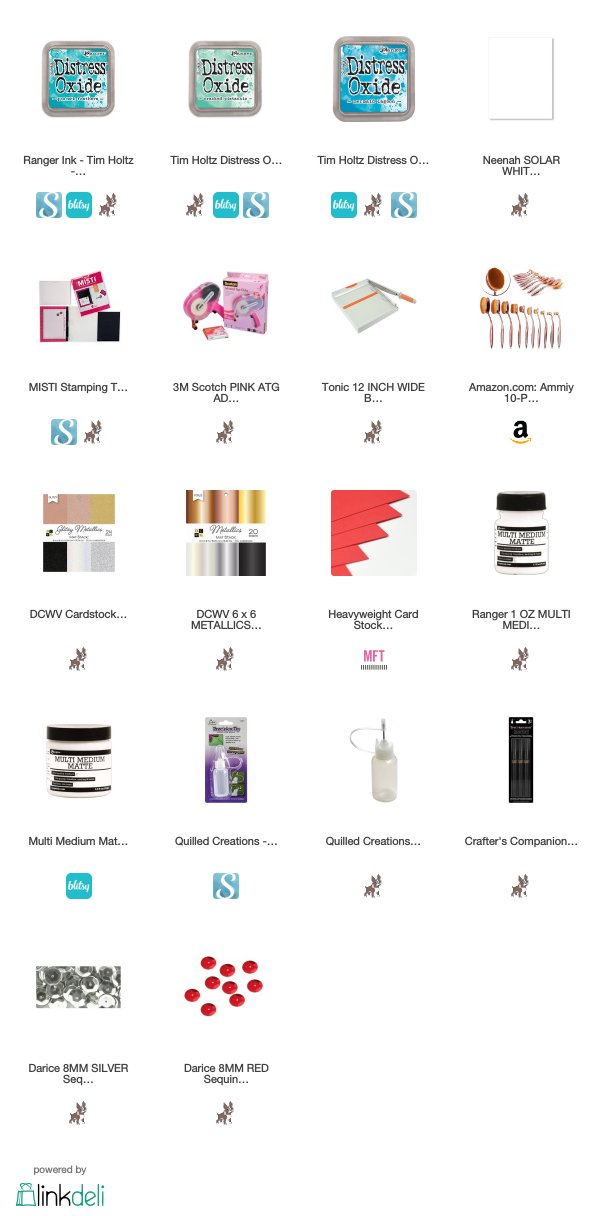
I LOVE how easy this card was to make.  Some simple blending to create my background using multiple colors of distress oxide inks.  Then I die cut out the birthday sentiment a few times to make it thicker and attached them all together with multi matte medium.  I also cut out two strips of silver mirror cardstock to border my beautiful card panel.


I pulled out the numbers dies in this set and die cut out a few numbers in silver glitter paper to add to my card.  Also the addition of the little red heart.  That heart die is also in the set.


For the finishing touches I added some sparkle pen to the hearts and a few sequins.  Such a quick and easy card to make in multiple colors.

 photo sig_zpse3eae6d2.png

Follow on Bloglovin

August 17, 2018

Spellbinders Miss You Swirl Die Cut

Hey peeps.  I'm back with another tutorial.  I'm making pretty cards with Spellbinders today.  This time I'm playing with a beautiful Marisa Job's design called Miss You Swirl Etching die cut from Spellbinders.  This die cut set is perfect for quick and stylish card making.

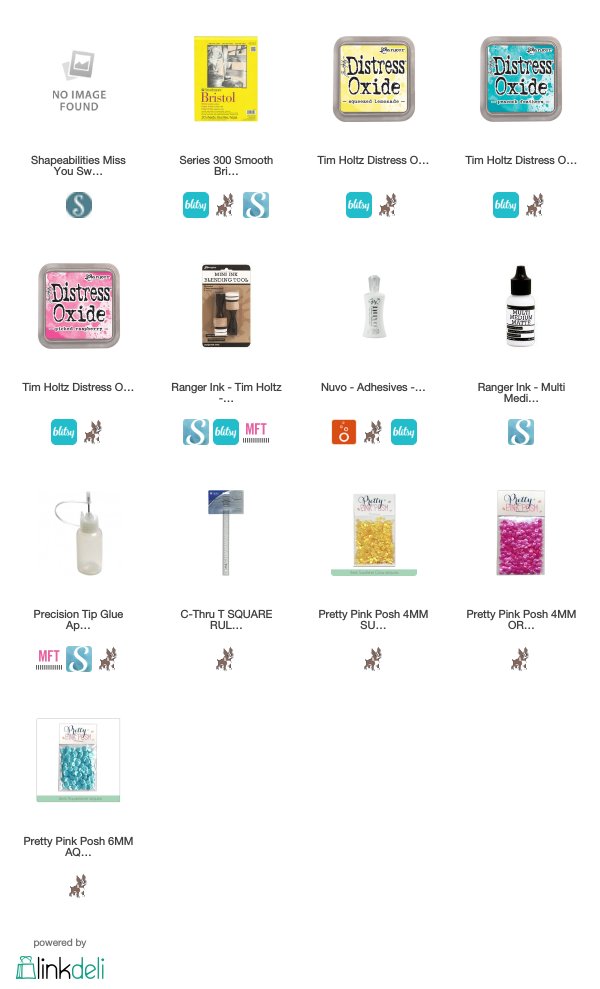
For my card today I used three distress oxide inks to create a beautiful color blend.  Next I used the swirl die cut to create my beautiful center piece for my card.  I die cut out the miss you sentiment several times to create a thicker sentiment and lined them up using a t-ruler.


I have a quick tutorial sharing how this card came together.  Just think of the beautiful color combinations you can come up with for this design.


Here's the tutorial.  You can watch it here or over at my Youtube channel mzdanajoy.  I've used affiliate links for your convenience at no cost to you.


Thanks for hanging out with me today.  Have a beautiful weekend.  

 photo sig_zpse3eae6d2.png


Related Posts Plugin for WordPress, Blogger...