Showing posts with label die cuts. Show all posts

December 15, 2018

Spellbinders Love & Flowers Die Cut

Hey peeps.  Happy Saturday.  I'm back to share a card using the beautiful Spellbinders Love and Flowers die cut.  This is such a sweet die cut for any of your occasional cards.  It's a striking die that is so easy to use.


I die cut this piece several times in black and dark pink cardstock and stacked them on top of each other to create a custom embellishment.  I also cut out the heart in gold glitter paper to add it to the center of the flower. I stenciled a brick background with embossing paste and color burst.  I love this bright pink and how it pairs with the black silhouette image of this sweet girl and boy.  


For my sentiment I used one of the dies from my monthly large die cuts subscription from Spellbinders.  I again cut out several pieces and finished it off with glitter gold on the top. Keeping this clean and simple with no additional embellishments.


For more inspiration check out Spellbinders Instagram and blog.  Thanks for stopping by today.  See you back here soon!

 photo sig_zpse3eae6d2.png

Follow on Bloglovin

August 29, 2018

Easy Birthday Card Using Spellbinder Dies

Hey peeps.  I'm sharing a fun and easy birthday card using Spellbinders die cuts.  I LOVE using dies that help me create quick and easy birthday cards.  The Shapeabilities Happy Birthday w/ Numbers Etched Dies.  You can make shaker cards with this die as well.  Soo awesome.


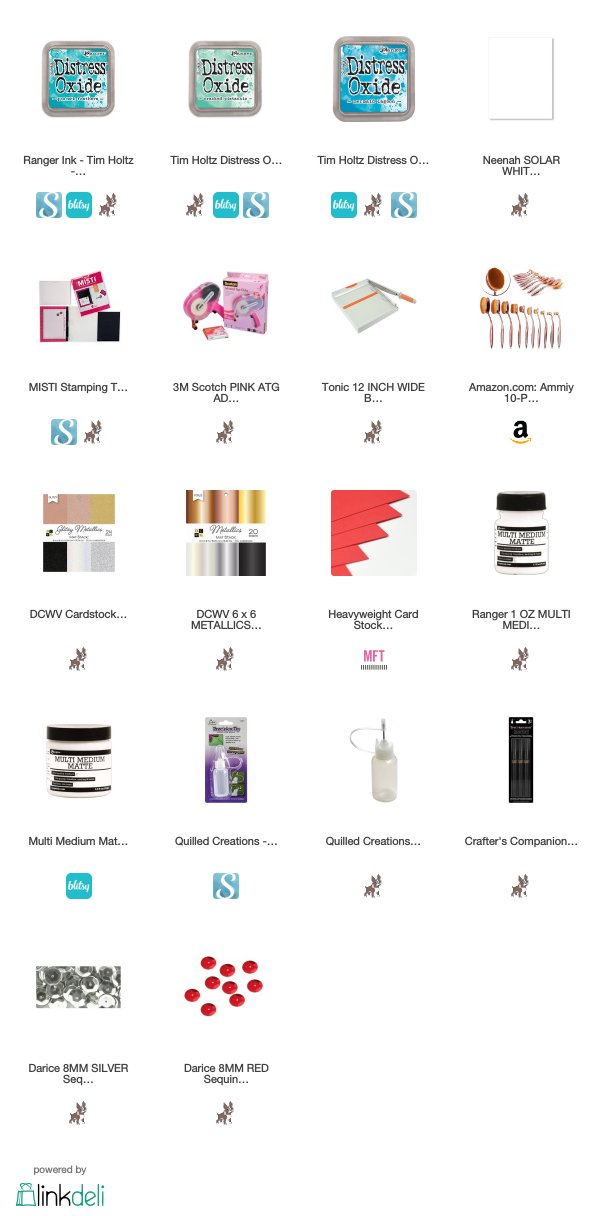
I LOVE how easy this card was to make.  Some simple blending to create my background using multiple colors of distress oxide inks.  Then I die cut out the birthday sentiment a few times to make it thicker and attached them all together with multi matte medium.  I also cut out two strips of silver mirror cardstock to border my beautiful card panel.


I pulled out the numbers dies in this set and die cut out a few numbers in silver glitter paper to add to my card.  Also the addition of the little red heart.  That heart die is also in the set.


For the finishing touches I added some sparkle pen to the hearts and a few sequins.  Such a quick and easy card to make in multiple colors.

 photo sig_zpse3eae6d2.png

Follow on Bloglovin

April 16, 2018

Altenew Weave Builder Stencil Tutorial

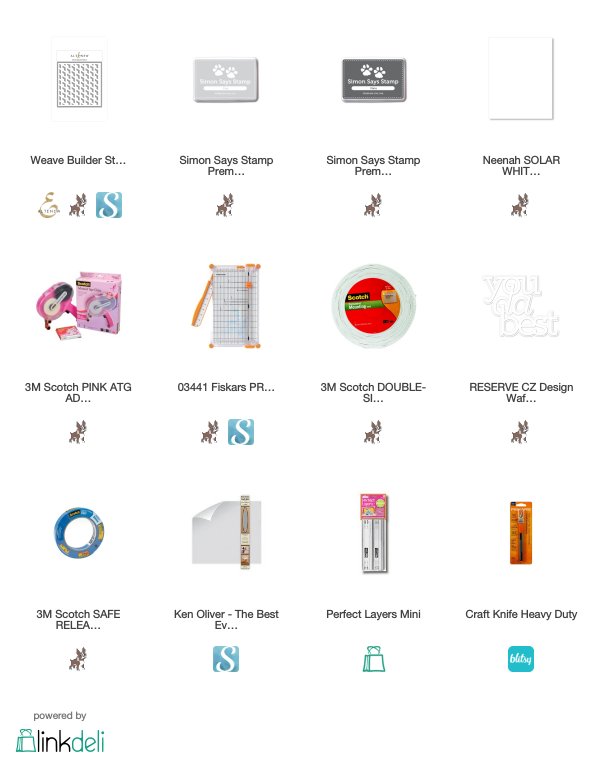
Hey peeps.  Back with another tutorial.  I'm in need of some masculine cards so I busted out the new Altenew Weave Builder stencil to make some pretty color background cards.  I also LOVE the new die from Simon Says Stamp called You Da Best!!  So much fun!!  This stencil makes a very graphic and cool design for your cards.


Here's a quick tutorial.  You can watch it here or over at my Youtube channel mzdanajoy.  I've used affiliate links for your convenience at no cost to you.


Thanks for hanging out with me today.  I'll see you back here soon!!


 photo sig_zpse3eae6d2.png

Follow on Bloglovin

December 15, 2017

When Your Die Cuts Do All The Work

Hey peeps.  Happy Friday!!  Is there REALLY only 10 days left until Christmas?  Geez I'm not done shopping yet.  However, I am nearing the end of my cardmaking which for me means SUCCESS!!!

I'm finishing up my family cards and letting my die cuts do all the work for me. Not only does it help me not have to overthink the layout of my card, it makes them come together and look fabulous!!  Also keeping the paper and sentiments simple really helps. I'm using two Christmas die cuts from Elizabeth Craft Designs today.  For my first card I used the Stocking Solid die cut with some Knit Picky paper from Lawn Fawn. I used a few small stitched rectangle dies to add some matching color and interest to my card.  Instead of just using white as a background color I decided to use fog card stock and ran it through my die cut machine with a small swiss dot embossing folder to give it some texture.  Adding just a few matte enamel dots to this cute card and voila it was complete.


For my ribbon tree I loved using a mix of sparkly, shiny and matte rose gold paper from DCWV.  It really made my card look elegant.  I used tiny strips of foam tape to pop up my little tree in the middle.  I can't tell you how much I LOVE these dies to build trees!!  I kept the card really simple by just adding a stitched hillside of snow and a simple sentiment.  I added just a bit of blue Copic markers to the background so the sky wasn't "white" and some snow with my white uniball gel pen.


Well that's a wrap for the cards today.  I hope you have a fabulous weekend everyone.  I'll see you back here next week!!

 photo sig_zpse3eae6d2.png

Follow on Bloglovin

June 4, 2015

Crafter's Companion Only Word Dies Release

Hey peeps.  Today is release day over at Crafter's Companion.  These new fabulous Only Word dies make fantastic cards.  I'm in love with them.  Here's a peek at two cards I made using the Happy Birthday Die. The first one I used a foiling technique to give my cards lots of shine. 


For my second card I decided to inlay it on some bright and cheery red cardstock. I truly love how they both turned out.


To get your hands on these fabulous dies, make sure to head on over to the Crafter's Companion website and fill up your cart with these amazing dies.

Go forth and crafty~
  photo sig_zpse3eae6d2.png

Follow on Bloglovin

March 10, 2015

A Little Country Cottage - Crafter's Companion

Hey peeps.  How's everyone doing? I know it's just the second day of the week but I do hope everyone's week has started off great.  I'm back today to share with you a card I made using the new Die'sire Classiques Collection Country Cottage die.  This die is part of the Spring/Summer collection over at Crafter's Companion.


I loved making this adorable scene card.  I added some curtains to the inside of my windows because you know a good set of windows need to be dressed.  LOL  This die even embosses the shingles and the bricks on the cottage.  So darn cute.

Here is a closeup so you can really see the detail on this die.  I also love the adorable door.  I die cut the door once again so I could have a little red door on my cottage.  For the grass around my little cottage I used my Spectrum Noir makers.  I also colored the sky with my markers but used some white paint to make my fluffy clouds.  The sentiment is from the Sheena Douglas A Little Bit Sketchy True Colors stamp set.  I love the sentiments in this set.

Well it's time for me to get back to making cards and working on some dt assignments.  I hope you enjoyed my card today.  Make sure you come on back later in the week for more fantastic cards using Crafter's Companion products.

Go forth and be crafty~

 photo sig_zpse3eae6d2.png

Follow on Bloglovin

June 17, 2014

Well HELLO There

HELLO peeps!  I hope everyone is having a great day.  Some Odd Girl has done it again with another fantastic cut file release.  Today in the shop is this ubber sassy cut file available in the This Moment Sentiment Pack.  As everyone knows cut files and word dies are all the rave right now.  But the great thing about a cut file is you can resize them to any size you want.  Love the versatility with these files.  So on my first card I used some My Mind's Eye Fiddlesticks card stock and some Bazzill paper.  I also didn't want to just have this sentiment stuck on a square piece of paper so I used the MFT snowdrift die cut for my HELLO to sit on.


Now for this card I used the negative piece from the first hello.  Nothing goes to waste in my stamproom.  LOL  I am such a hoarder of paper it's a sin.  But if I use it up I don't feel so bad,This card is really simple and help to make the sentiment be the highlight of my card.  Again I used the MME Fiddlesticks paper pack.  
Now, head on over to SOG blog and check out what some of the ladies have to offer you today.  We would love to see your creations too over at the Some Odd Girl Community on Facebook.
Hugs and love~


Follow on Bloglovin
Related Posts Plugin for WordPress, Blogger...