Showing posts with label Floral. Show all posts

October 31, 2018

Technique Tuesday Sneak Peek Day 2

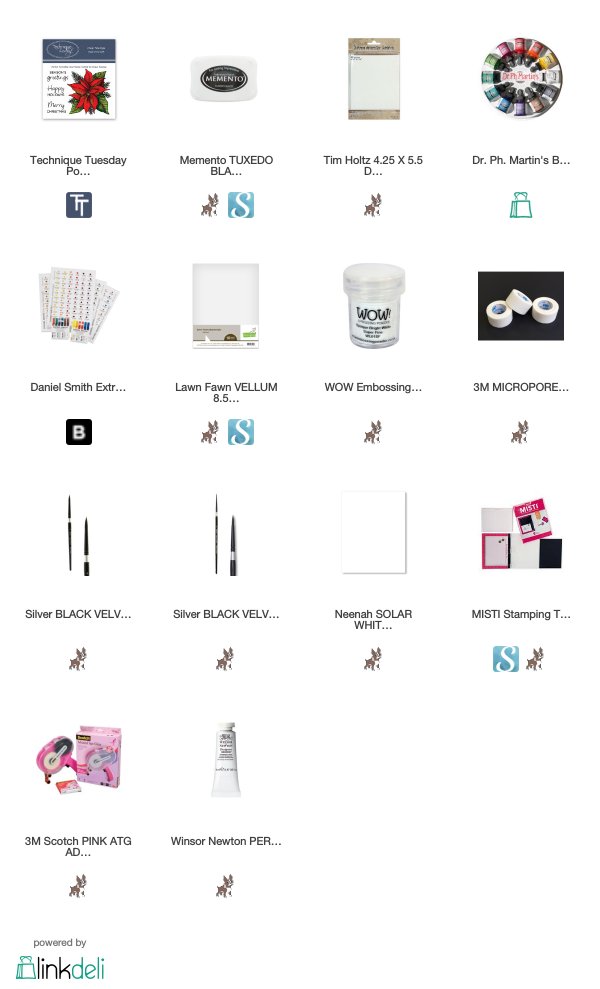
Hey peeps.  It's Technique Tuesday sneak peek day 2.  If you missed yesterday's sneak peek day 1 you can click and see what I made.  We are just one day away from release day.  Today I'm sharing the beautiful Poinsettia stamp set. OH MY WORD I can't begin to tell you how much I loved creating this card.   This image is the perfect size to make beautiful watercolor card panels.

I started this card off by stamping the image randomly onto a piece of watercolor paper.  Next I carefully colored each image in bright pink watercolor.  I used an image I found on the internet to get the perfect color combo for this card.  I used two different watercolors on my card using the Dr. Ph Martin hydrus ink as well as my Daniel Smith watercolors.  After each flower was colored I created an ultra dark background to really make them pop.


I decided to add some white splatters using white gouache and a paint brush.  I just tapped on the end of my paint brush to make the splatters.  Just make sure if you do this is gouache is watered down well.  Then I set it aside to try.  Next I created a sentiment strip using vellum as I didn't want to stamp the sentiment directly on the card panel and wrapped it around my watercolored piece.  I adhered this to a white card base and all that was left was to add a few embellishments.


I have to say I am really loving this card.  Thanks so much for stopping by today.  Make sure to swing by the other design team members blogs to see what they have in store.  See you back here tomorrow for release day.  


 photo sig_zpse3eae6d2.png

Follow on Bloglovin

October 17, 2018

Ink On 3 October Release

Hey peeps.  Ink On 3 is full of holiday and spiritual inspiration with this latest release.  I played with two of the new stamp sets called Poinsettia and Merry and Bright for my card today.

I decided to make a background with this stamp set.  I stamped all the images in juicy ink and then heat embossed them with the gold rush embossing powder.  I simply colored the images with white and red color pencils. I filled in the remaining area with the pine needles in red ink.


Here's a close up of the coloring.  Coloring on white over the red cardstock makes the white not so stark.  I love doing this technique on color cardstock.  On some of the white poinsettias I added a red layer of color pencil over the white and deepened the shadows with a darker red.  


Next I stamped out one of the sentiments from the Merry and Bright stamp set on olive cardstock and heat embossed it in gold rush.  I decided to layer this sentiment square onto a piece of white cardstock I entirely heat embossed in the gold rush embossing powder.  I wrapped a strip of vellum around the colored panel and adhered the sentiment to it with foam tape.  Finally the colored panel was adhered to a white card base.


Make sure to head on over to the Ink On 3 blog today as there is a blog hop and special discounts.  I'll see you guys back here soon.


 photo sig_zpse3eae6d2.png

Follow on Bloglovin

September 3, 2018

Technique Tuesday September 2018 Release

Hey everyone.  I'm a little late sharing the Technique Tuesday September release.  Unfortunately I suffered a TIA (mini stroke) on August 24th. Not the way I planned on spending my Friday night however after multiple testing and admission into the hospital we were able to get my blood pressure under control.  I will be having more testing done and plan on taking better care of myself.  You all know how much my family and crafting means to be so I need to make sure I'm doing my part to be on this earth as long as possible.  ðŸ˜‰


I was able to finish up my cards and I wanted to share them with you.  If you haven't had a chance to swing by the Technique Tuesday blog to see the August 2018 release make sure to do so.  The design team members have done a phenomenal job with this release.

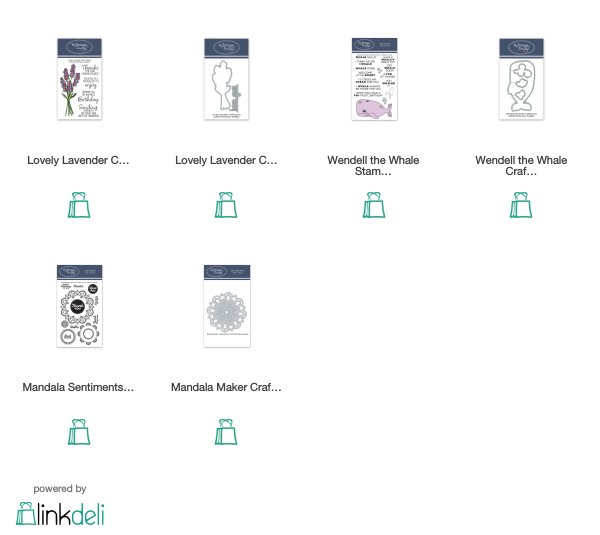
My first card is featuring the new Lovely Lavender stamp set and coordinating crafting dies along with the new Mandala Maker crafting die.  I colored the lavender with Copic makers.  I die cut out the mandala out of heavy weight vellum and also colored that with Copic markers.  I then die cut the mandala a few more times on white cardstock to secure my vellum to it.  I finished off this card with the


For my second card I used the Mandala Sentiments Stamp set with the Mandala Maker crafting die to make this card.  I stamped them in pretty blue, magenta and yellow inks along my card front.  Next I stamped a smaller image from this set in a graphite gray ink to fill in some of the space.  Next I stamped the happy birthday to you sentiment in the middle of the mandala.  To add some texture to this card I used the mandala die with vellum and added that different pieces of the mandalas.


And for my last card.  I made an ocean scene with the Wendell The Whale stamp set.  I watercolored him in rainbow fashion (yes, Wendall is a rainbow whale) 😂 and had him swimming across my card.  A watercolored the water and I used drew in some sun rays and clouds.  Next I stamped a sentiment and some hearts and popped them up with foam tape.


All products are now live in the Technique Tuesday store.  I've used affiliate links below for your shopping convenience at no cost to you.  I hope you enjoyed your visit today.  I'll see you back here soon.



 photo sig_zpse3eae6d2.png

Follow on Bloglovin

June 30, 2018

Technique Tuesday - Sneak Peek Day 2

Hey peeps.  I'm back with another sneak peek from Technique Tuesday.  I hope you had chance to check out all the fabulous projects the design team made for everyone yesterday.  If you missed it, just head on over to the Technique Tuesday blog and check the ones out for today and yesterday.

For today's card I'm using the beautiful Happy Hydrangea stamp set and the coordinating Happy Hydrangea crafting dies.  As you have seen on my blog I truly love coloring floral images and especially hydrangeas.  This stamp set is no exception.  I LOVE LOVE LOVE it.  I first stamped my image on some bristol smooth paper and colored my bouquet with my polychromo color pencils and used some gamsol to blend out the colors.


Next I stamped out some images in black in on a white card base to have something to sit behind my colored image.  I love the striking look of this card.  Lastly I stamped out a thanks sentiment on black card stock in embossing ink and heat set it with white embossing powder.  Adding just some simple purple gems finished out the sentiment strip.


 Okay that finishes up sneak peek day 2.  Make sure to stop back by tomorrow for the final day and for your chance to purchase this new release.  See ya tomorrow!!


 photo sig_zpse3eae6d2.png

Follow on Bloglovin

June 22, 2018

Simple Floral Card with InkOn3

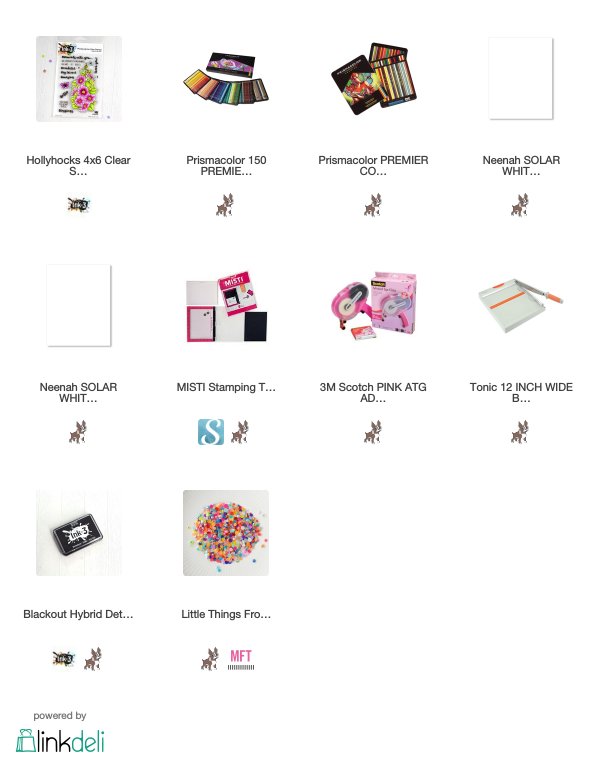
Hey peeps.  I'm back with another card featuring the newest release from InkOn3.  This lovely hollyhocks stamp set is beautiful for making simple floral cards. You can totally mass produce this card and have so much fun with color combinations.

For this card I simply stamped the image with InkOn3 blackout ink and colored it with some colored pencils on a 110 lb Neenah Solar White card base.  It was so relaxing to just sit and color this gorgeous image.  Next all I needed was a sentiment and my card was complete.  I did add a few crystal gems to add a little bling to my card.  You know I had to do it.  ðŸ˜‰


You can check out my other card here.  I really LOVE this stamp set Fleurette and I know others will too.  Have an amazing day everyone and I'll see you back here soon.


 photo sig_zpse3eae6d2.png

Follow on Bloglovin

June 14, 2018

Ink On 3 Blog Hop

Hey everyone.  Welcome to the Ink On 3 blog hop.  I'm so excited for the June release!!  The amazing design team AND Lydia Fidler (our super guest) have some beautiful projects to share with you today.   Make sure to comment on each blog for your chance to win one of two $25 gift certificates. The giveaway ends June 20, 2018 at 12:00 PM (NOON) CST.  Winners will be on the Ink On 3 blog.


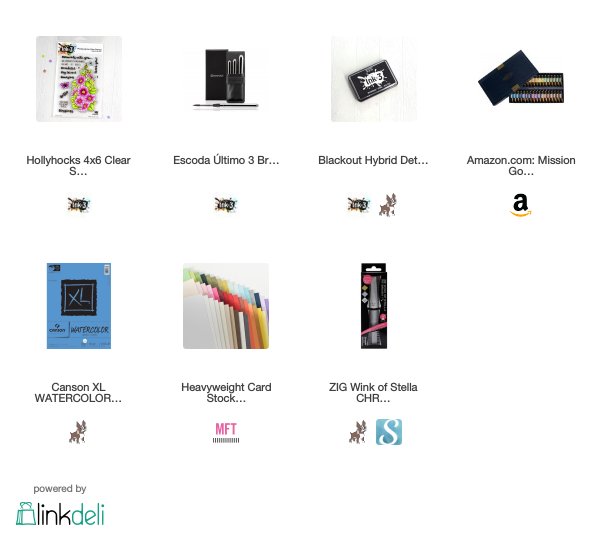
For my card today I stamped the new Hollyhocks image on Canson watercolor paper with the InkOn3 blackout ink.  I used my Mission Gold watercolors for my medium today.  I also used the Escoda Ultimo travel brushes.  I LOVE this brushes.  So easy to use and portable for on the go painting.  and die cut out with the Hollyhocks using the coordinating die.  Next I used the beautiful thank you die that comes with this die cut set and triple cut it out using yellow, black and pink cardstock.  It's such a pretty font and I love the additional butterfly.  I layered my sentiment to give it a nice backdrop. I added just a touch of Wink of Stella over the flowers.  Everything was placed on a card base with a little bit of light yellow stenciling and a few stripes of matching green card stock to partially frame out my image.


You can really see the shadowed die cutting and the shimmer on my card in this picture.


Have a great day everyone. Don't forget...make sure to comment for your chance to win!  See you guys back here soon!


 photo sig_zpse3eae6d2.png

Follow on Bloglovin

April 23, 2018

Sneak Peek - Simon Says Stamp Guest Post

Happy Monday everyone.  I have a special sneak peek today.  I'm doing a Simon Says Stamp guest post on their blog today featuring the card below.  You can find a quick tutorial over there on how this card came together and the products I used.  I LOVE how this card turned out and I'm so happy to be sharing it with the Simon Says Stamp community.


So head on over to the Simon Says Stamp blog for all the details.  I'll be back tomorrow with a tutorial video and another card.  Have a great Monday everyone.

 photo sig_zpse3eae6d2.png

Follow on Bloglovin

April 12, 2018

InkOn3 April Release - Platy-rific Pondies and Pansies

Hey peeps.  Today I'm sharing the new Inkon3 April release.  The Platy-rific Pondies stamp set and Pansies stamps are now available for purchase along with the coordinating dies.  I'm so exciting that Inkon3 is now offering coordinating dies to some of the stamp sets with more to come.


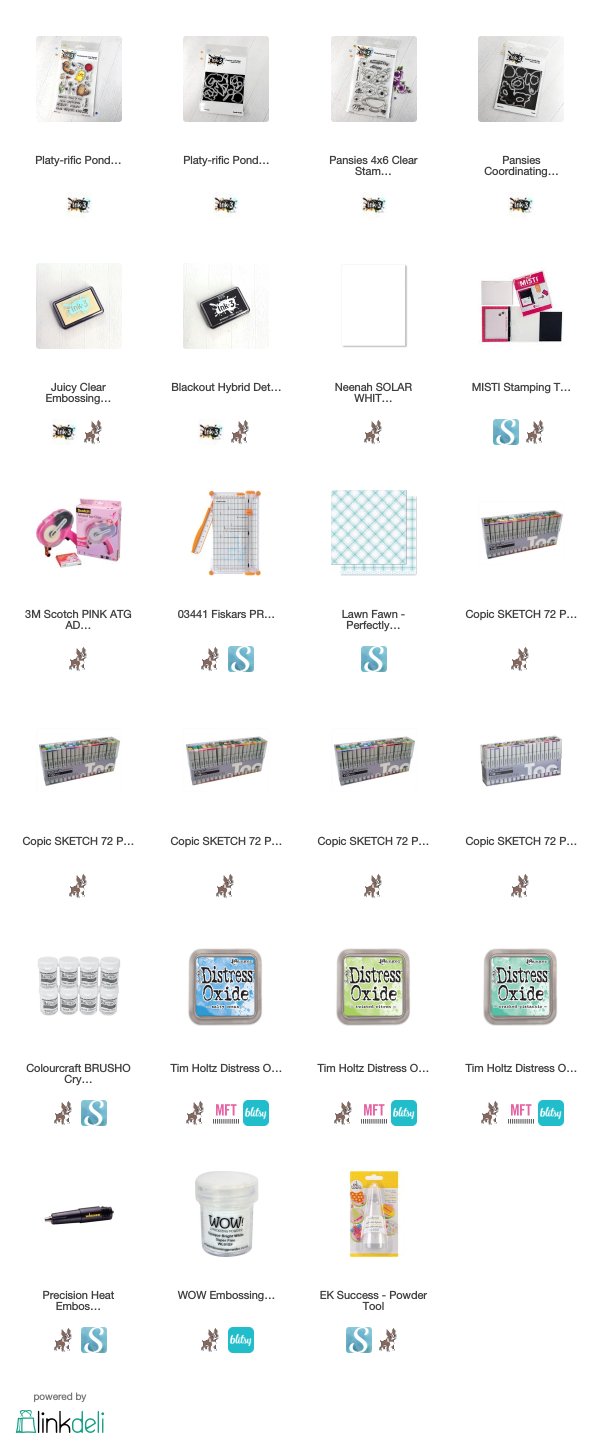
For first two cards I'm using the Platy-rific Pondies stamp sets.  I adore this little images and they are so super cute to color.  My first card I created a scene with Copic markers and distress oxide inks for my little friends to hang out on.


For my second card I stamped out a background using the friends and then colored up one of the images and attached the balloon to him.  This one is my favorite as this little duck just makes my heart happy.  I kept the color palette color so I can use it for a cute baby card.


And for my Pansies card I used a brusho background I created some time ago and stamped on the beautiful floral image in juicy ink around the edge of this panel.  Next I stamped the mom sentiment and heat embossed everything in white embossing powder. To finish off this card I added just a few sequin to the center of the flowers and a glitter strip of purple paper behind this panel.


Now it's time to head on over to the InkOn3 store and grab your Platy-rific Pondies and Pansies stamp sets with coordinating Platy-rific Pondies and Pansies dies.  Have a fantastic day everyone and I'll see you back here soon.


 photo sig_zpse3eae6d2.png

September 14, 2017

My Favorite Things Blessed Inlay Card - Tutorial

Hey peeps. I hope everyone is having a blessed day.  We are safe and sound in our home.  We didn't have any damage (thank you Jesus) and we have everything back in order.  I can't thank you guys enough for the well wishes and prayers.  It was a scary time and my nerves were a wreck.  My heart is so heavy for the families that have lost loved ones during this hurricane.  I continue to pray for the families that have lost their homes, businesses and cherished memories.  If you can, please donate to a charity of your choice to help support the people affected by this horrible hurricane.

Today I'm back with a card and tutorial sharing how blessed I am to have made it through this storm.  This die cut came in the day before the hurricane hit.  My Favorite Things is also located here in Florida and it's so fitting that this blessed die came in a day before we locked ourselves up in our house to wait out the hurricane.


This card here is not in the tutorial however I wanted to share with you that you can get two cards out of one technique.


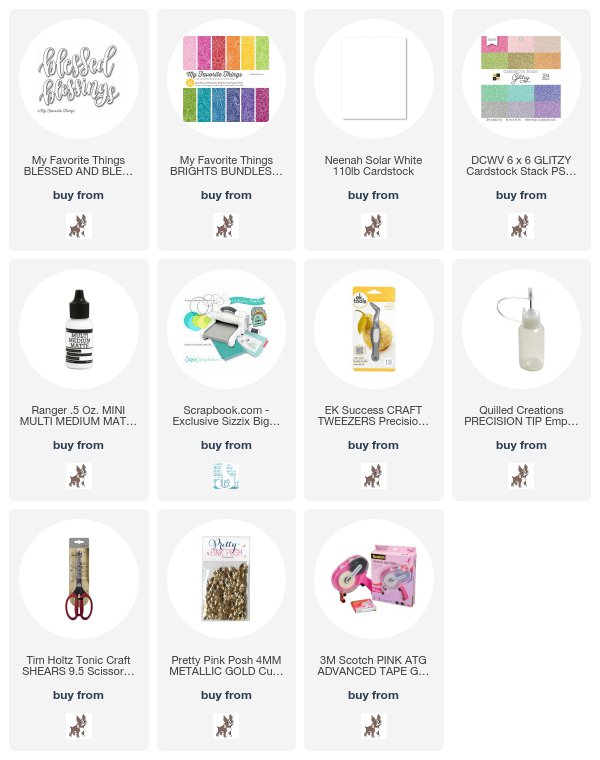
You can watch the tutorial here or on my Youtube channel mzdanajoy.  Here's a tutorial using Color Burst and one with a stencil where I used the same technique to make a similar card. I hope you enjoy and make sure to leave a comment below.  All supplies are listed below.


 photo sig_zpse3eae6d2.png

Follow on Bloglovin

Related Posts Plugin for WordPress, Blogger...